I wanted to do an updated blog post on floral water marbles. This post is going to focus more on the design in the water and less on the actual manicure. If you'd like to check out my previous floral water marble post, click here.
What you'll need: A glass to hold your water in (preferably something small like a shot glass), distilled water, nail polish and an orange stick or tooth pick to help create your design.

Step 1: Create a bulls eye with your polish.
This is done by alternating drops of polish into your glass. Your polish will spread and eventually take on a bulls eye appearance.

Step 2: Take your orange stick and gently start from the outside of your bulls eye and drag towards the center. You don't want to dip too far into the polish, just use the finest point of the orange stick to create your designs.
* The farther the polish ring is from the center, the dryer it is. It's been sitting on top of the water longer than the other rings. If you notice that the polish is not moving easily, it is most likely because it has already started to dry. Try starting your lines from a ring closer to the center.

Step 3: This time your starting point will be on the opposite end. With the same motion, gently drag towards the center until you meet your two lines together.
* When you create a line, your next line should always be directly across from the one before. (Ex: You start at the top, your next line should be from the bottom. You start from the right, your next line should start from the left, etc). This will help make your petals as symmetrical as possible.
* When you create a line, your next line should always be directly across from the one before. (Ex: You start at the top, your next line should be from the bottom. You start from the right, your next line should start from the left, etc). This will help make your petals as symmetrical as possible.

Step 4: Create a line from the outer left and drag towards the center.

Step 5: Create a line from the outer right and drag towards the center, meeting up with all of your other lines in the center. This completes a basic floral water marble and you can choose to stop here if you'd like. I prefer a flower with more petals.

Step 6: For this step, I cut my top-left petal in half, gently dragging towards the center.

Step 7: Since I cut my top-left petal in half for step 6, I will then move on to the opposite side of my design, cutting my bottom-right petal in half and gently dragging towards the center.

Step 8: For this step I cut my bottom-left petal in half.

Step 9: Last step! Cut your last petal in half, top-right. You now have a floral design with 8 petals. You can choose to add more petals if you'd like.

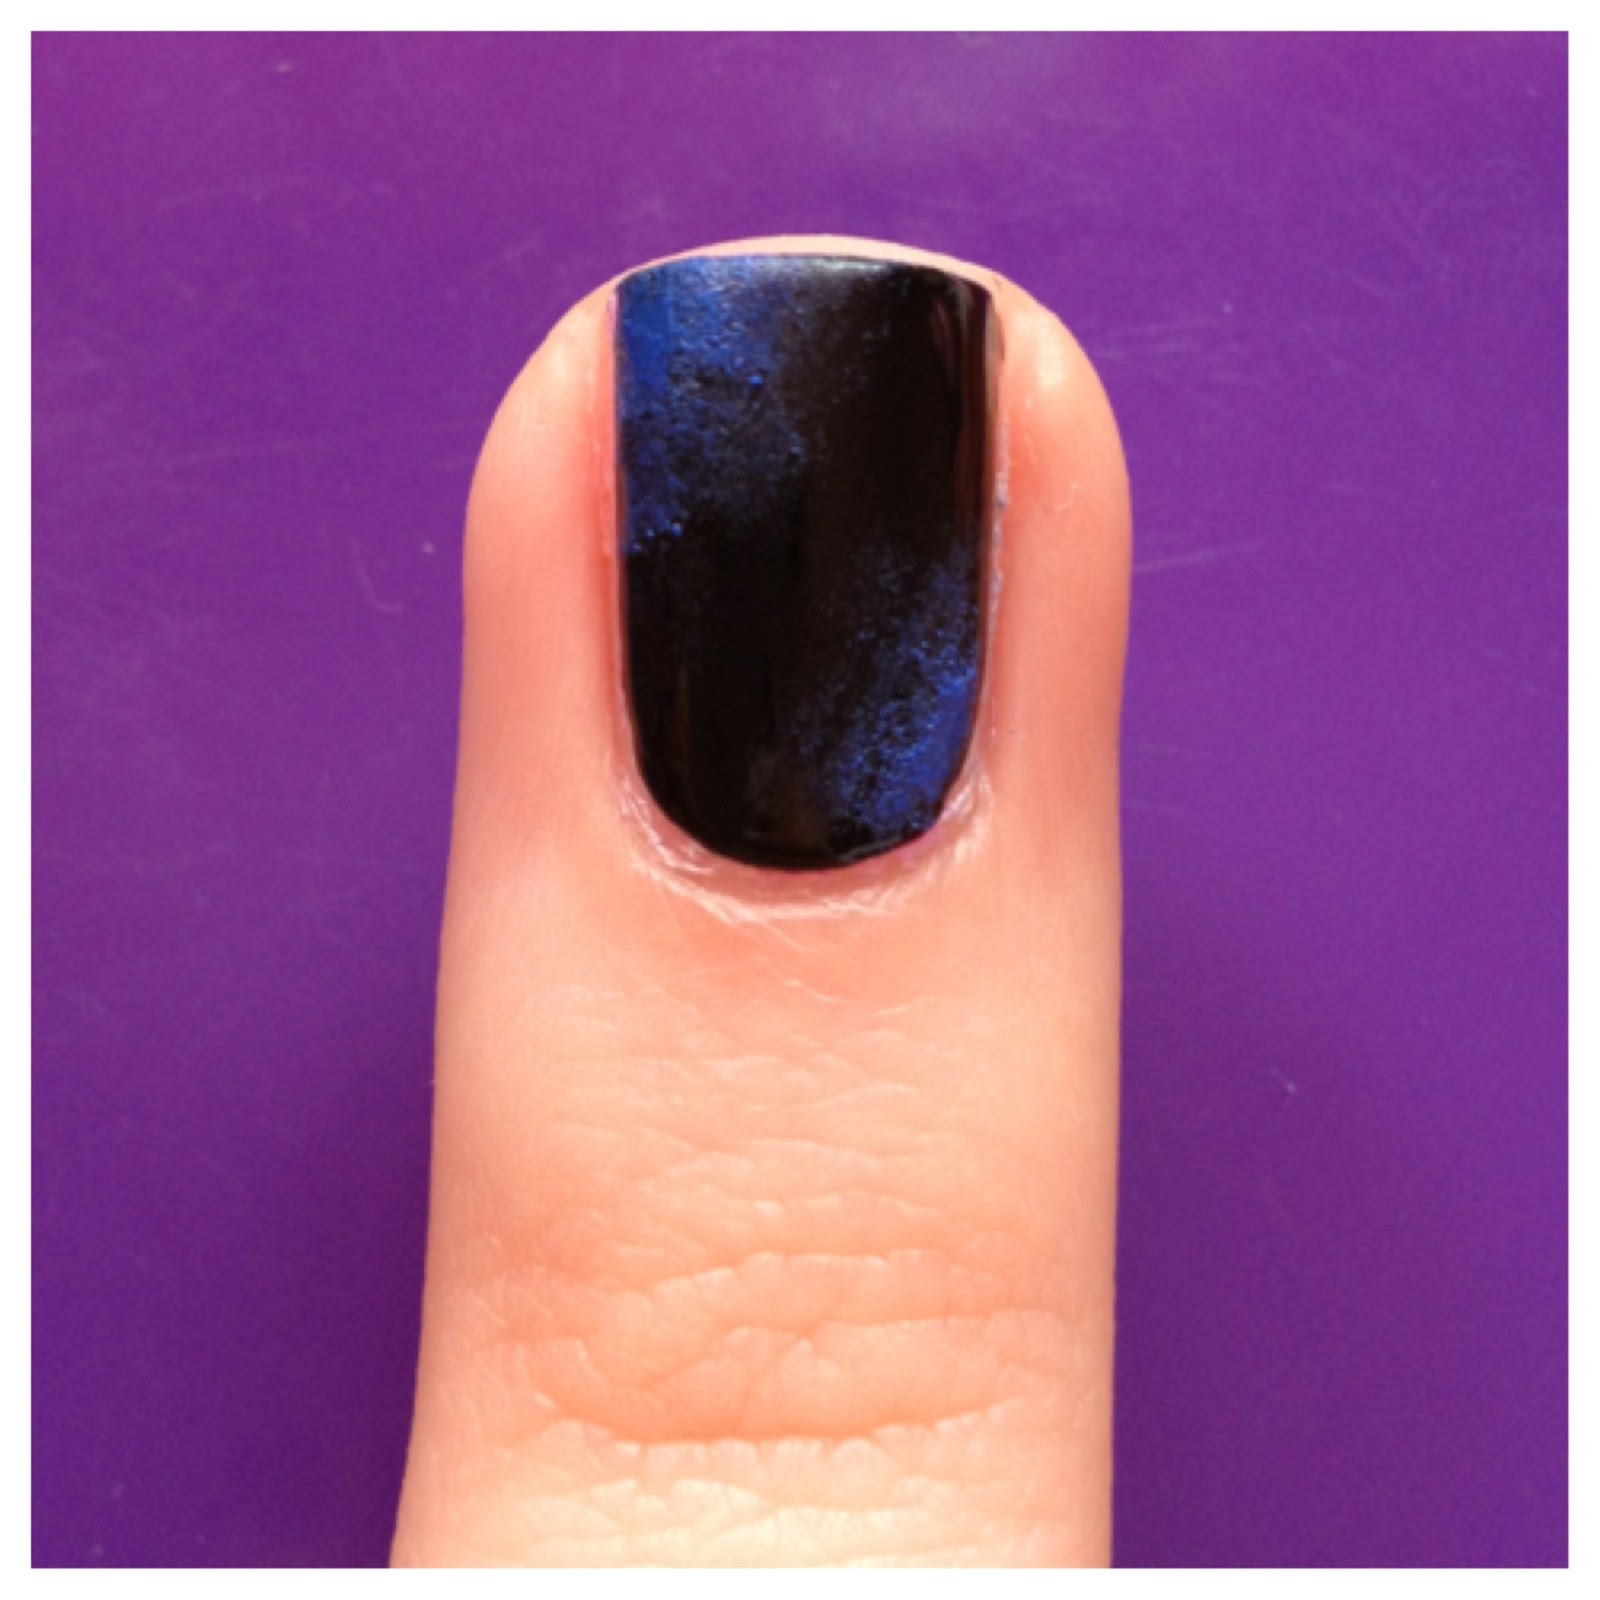
Here is the design as an accent nail on my most recent mani. If water marble nails seem too time consuming, add the design to just one nail like I did here. Quick, easy and gets a lot of compliments.
As always, feel free to leave any comments/questions below!
Hope you enjoyed this step-by-step!
<3