Showing posts with label makeup. Show all posts

Wednesday, September 11, 2013

How To: Clean Makeup Brushes

Before I purchased quality makeup brushes, I would treat my brushes like crap.. I didn't know any better. Now I wash my brushes weekly and do spot treatments whenever it's needed.
 
Half of any break outs could be due to dirty brushes, it's gross to even think about. Besides the gross factor, nourishing the bristles is going to keep them soft and will make them last longer.
 
If you'd like to see how I clean mine, keep on reading.
 
What you'll need: Dirty brushes, a brush cleanser, a bowl, running water and a towel.

 
* You can check out my brush cleanser here. You do not need a "special" brush cleanser like this one. Johnson's Baby Shampoo is cheap and gentle enough to clean your makeup brushes.
 
 
Just so we're on the same page:


Step 1: Pour a small amount of your cleanser into a bowl.


Step 2: Run your brush under luke-warm water.

* Always hold your brush upside down while cleaning it. Holding the brush upright can cause water to travel down the ferrule and loosen up the bristles.

* Never let the water go past the brush ferrule and onto the handle. Allowing water into this end of the ferrule can loosen the glue and cause the ferrule and the handle to come apart.


Step 3: Dip your dampened brush into the cleanser.


Step 4: Swirl your brush into the palm of your hand, creating a nice lather.
Rinse and repeat until the lather is white and clean.


Step 5: Gently squeeze out any extra water and lay flat to dry on a towel.
* Shape your brushes while damp so they dry nice and compact.


I like to wash my brushes before bed so they have the entire night to dry.
There are fancy racks that you can buy that'll hold your brushes upside down to dry faster, but this technique works just fine for me.


If you have any comments/questions, feel free to leave them below!
 <3
 

Friday, August 2, 2013

Vibrant Purple Smokey Eye (Tutorial)

Smokey eyes are great for any sort of night out look. Once you start experimenting with smokey eyes, you realize that there are different kinds. This particular one focuses the dark shadows in the inner and outer corners of the eye.
 
 
This is my vibrant smokey eye of the night:
 
 
Before I get into it, I want to explain some things. The color purple may not be the best color choice for your particular eye color. Whenever you're putting eye shadow on, always try to choose colors that enhance your eyes. Enhancing is the entire purpose of makeup, after all. This purple shade can be switched out for any shade of your liking.


Step 1: Take a vibrant color of your choice (purple looks awesome on brown and green eyes) and place it right in the middle of your lid.


Step 2: With a fluffy brush, add some dark brown to the inner and outer corners of your lid.
 
* You will be adding black shadow, so the purpose of laying down the brown first is so that everything blends together with more ease. Brown is a nice transitional color.
 
* The color used was Buck from Urban Decay- Naked Palette.
Check it out here.


Step 3: With a pencil brush, add some black shadow in the inner and outer corners of your lid. This is the step that you should take your time with. Always start with a little black and work your way to your ideal black shade.
 
* The color used was Crave from Urban Decay - Naked Basics Palette.
Check it out here.


Step 4: Add eye kohl to the top and to the bottom. You could do a crazy cat eye with this, or keep it simple like I did. Both would look great.
 
* The eye kohl used was Smolder by MAC Cosmetics.
Check it out here.


Step 5: Lastly, add your favorite mascara to your top and bottom lashes.
 
* The mascara used was Benefit- BADgal Lash.
Check it out here.


And that's it! If you have any questions or comments, leave them below. If you recreate this look I'd love to see it. Tag me @aubreyhannah on Instagram so I can check them out!


Thursday, August 16, 2012

Favorite Nude Lip Products

Let me start off by saying that it's taken me FOREVER to start this blog today! Why? Shark week of course! haha. Talk about addicting television. Anyway....

I decided to show you guys what my favorite nude lip products are. I have some high-end favorites and some low-end favorites. I'll post a link below the pictures in case any of you are interested in buying these products or just want to scope them out.


Here are the products as a whole, (with a fancy filter). If you'd like to know more about each specific product in detail, keep reading!


I'm going to start off with my all-time favorite lipstick. This is MAC- Creme D'Nude. It's a cremesheen finish, so it's a little on the sheer side. This allows you to wear it throughout the day without it looking like you have a heavy night time lipstick on.


Here is a swatch of CD'N. As you can see it has enough pigmentation to nude out your lips, but is very sheer at the same time. You can check out this lipstick here - MAC Cosmetics- Creme D'Nude.


This is Revlon- Soft Nude (070) and it's my second favorite nude shade. It's very similar to CD'N but has a bit of a thicker formula. Besides the fact that the lipstick is nice, the packaging is so cute. As you can see it has a quilted pattern.


Here is a swatch of SN and you can see the comparison between it and CD'N. Very similar. Both have more of a brown/peachy undertone. You can check out this lipstick here - Revlon - Soft Nude (070).


This lipstick is MAC- Viva Glam Gaga 2. It has an amplified finish, a.k.a. this lipstick is so pigmented that you have to be careful using it. If you swipe this lipstick on like any other lipstick, you could very possibly look sickly. I apply it by dabbing it onto my lips (not swiping) and gradually getting the color I desire.


Here is a swatch of VGG2. You can see that the color is much deeper than the first two swatches. They all have brown/peachy undertones. Unfortunately, this specific Viva Glam lipstick isn't sold at MAC anymore. They are no longer selling the Gaga version. They have the new Viva Glams for sale, which is Nicki Minaj/Ricky Martin's version. If this is a shade that you are extremely interested in, I'm sure you can find the shade on eBay.

I will still post a link to MAC's Viva Glam lip products because each product sold helps a great cause. "Every cent of the selling price of VIVA GLAM Lipstick and Lipglass is donated to the M·A·C AIDS Fund to support men, women, and children living with HIV and AIDS."
Here is the link to check it out - MAC Cosmetics- Viva Glam.


This is my least-favorite nude (but it's still a favorite!) It's E.L.F.- Nicely Nude. It's my least favorite for 2 reasons. When I bought this shade offline, it was described as a lighter color than what I received, so right off the bat I was disappointed. It's also my least favorite because I tend to want to wear more of a peachy/brown nude and this definitely has pink undertones.


You can see here how much more pink NN is compared to the other swatches. You can check out this lipstick here - E.L.F. Cosmetics - Nicely Nude.


Onto the lip glosses! This is NARS- Sweet Dreams and it's my absolute favorite. My brother got this for me for my birthday. (he went into Sephora and bought me a $24 lip gloss, if that's not love I don't know what is.) As you can see it has a doe foot applicator which I love.


Here is a swatch of SD. It's perfectly pigmented with a pink undertone and fine gold shimmer. You can check out this lip gloss here - NARS Lip Gloss- Sweet Dreams.


This is Beauty Rush - Slice of Heaven by Victoria's Secret. This gloss is on she sheer side but has beautiful pink/gold shimmers.


This is my go-to nude gloss if I don't want such a pigmented shimmer. You can see how much more sheer it is compared to SD. You can check out this lip gloss here - Beauty Rush - Slice of Heaven.


Last, but certainly not least, my lip underwear a.k.a. lip liner. This is Maybelline - Toast (25). A lot of people are nervous of lip liner because they don't want that ridiculous Pamela Anderson look. What a lot of people don't know is how beneficial lip liner is with your lip stick. Lip liner will give your lips a crisper line, along with longer wear of your lipstick.


Here is a swatch of Toast (T) and it looks a little harsh but I pressed down pretty hard to make sure that the color would show. Not only do I use this underneath my nude lipsticks but sometimes I wear it on its own. It has a beautiful color and its mattifying. So if you're looking for a matte colored lipstick and you can't find one, try looking for your color in a lip liner. It'll last long and it'll look great. You can check out this lip liner here - Maybelline Lip Liner- Toast 25.


I hope you guys enjoyed this post! I know it was long but I really wanted to go into detail for you guys. I hope that the swatches/info was beneficial. As always, feel free to leave any comments/questions below.


Aubrey

Sunday, August 5, 2012

Eyebrow Tutorial


Today I'll be showing you how I achieve this brow look.
(don't mind my bare lids, I always do my brows before I apply any eye shadow.)


I like to keep my final brow result as natural as I can. I don't like the over-filled look and I don't like the super-thin look. It's proven that having a thicker brow makes you appear younger and more youthful (just figure out how thick is too thick for your face shape.) If you want to know how I fill my brows in, keep on reading!


Here are my brows without any sort of fill. They're very light and thin. The hair on my head is dark so my brows seem to disappear on my face if I leave them alone. When I was younger I never filled my brows in - but now that I'm older and know more about it, I've learned that they frame your face and make your facial features pop. Filling your brows in will give you a much more "complete" look when you are doing your makeup.


What you'll need:


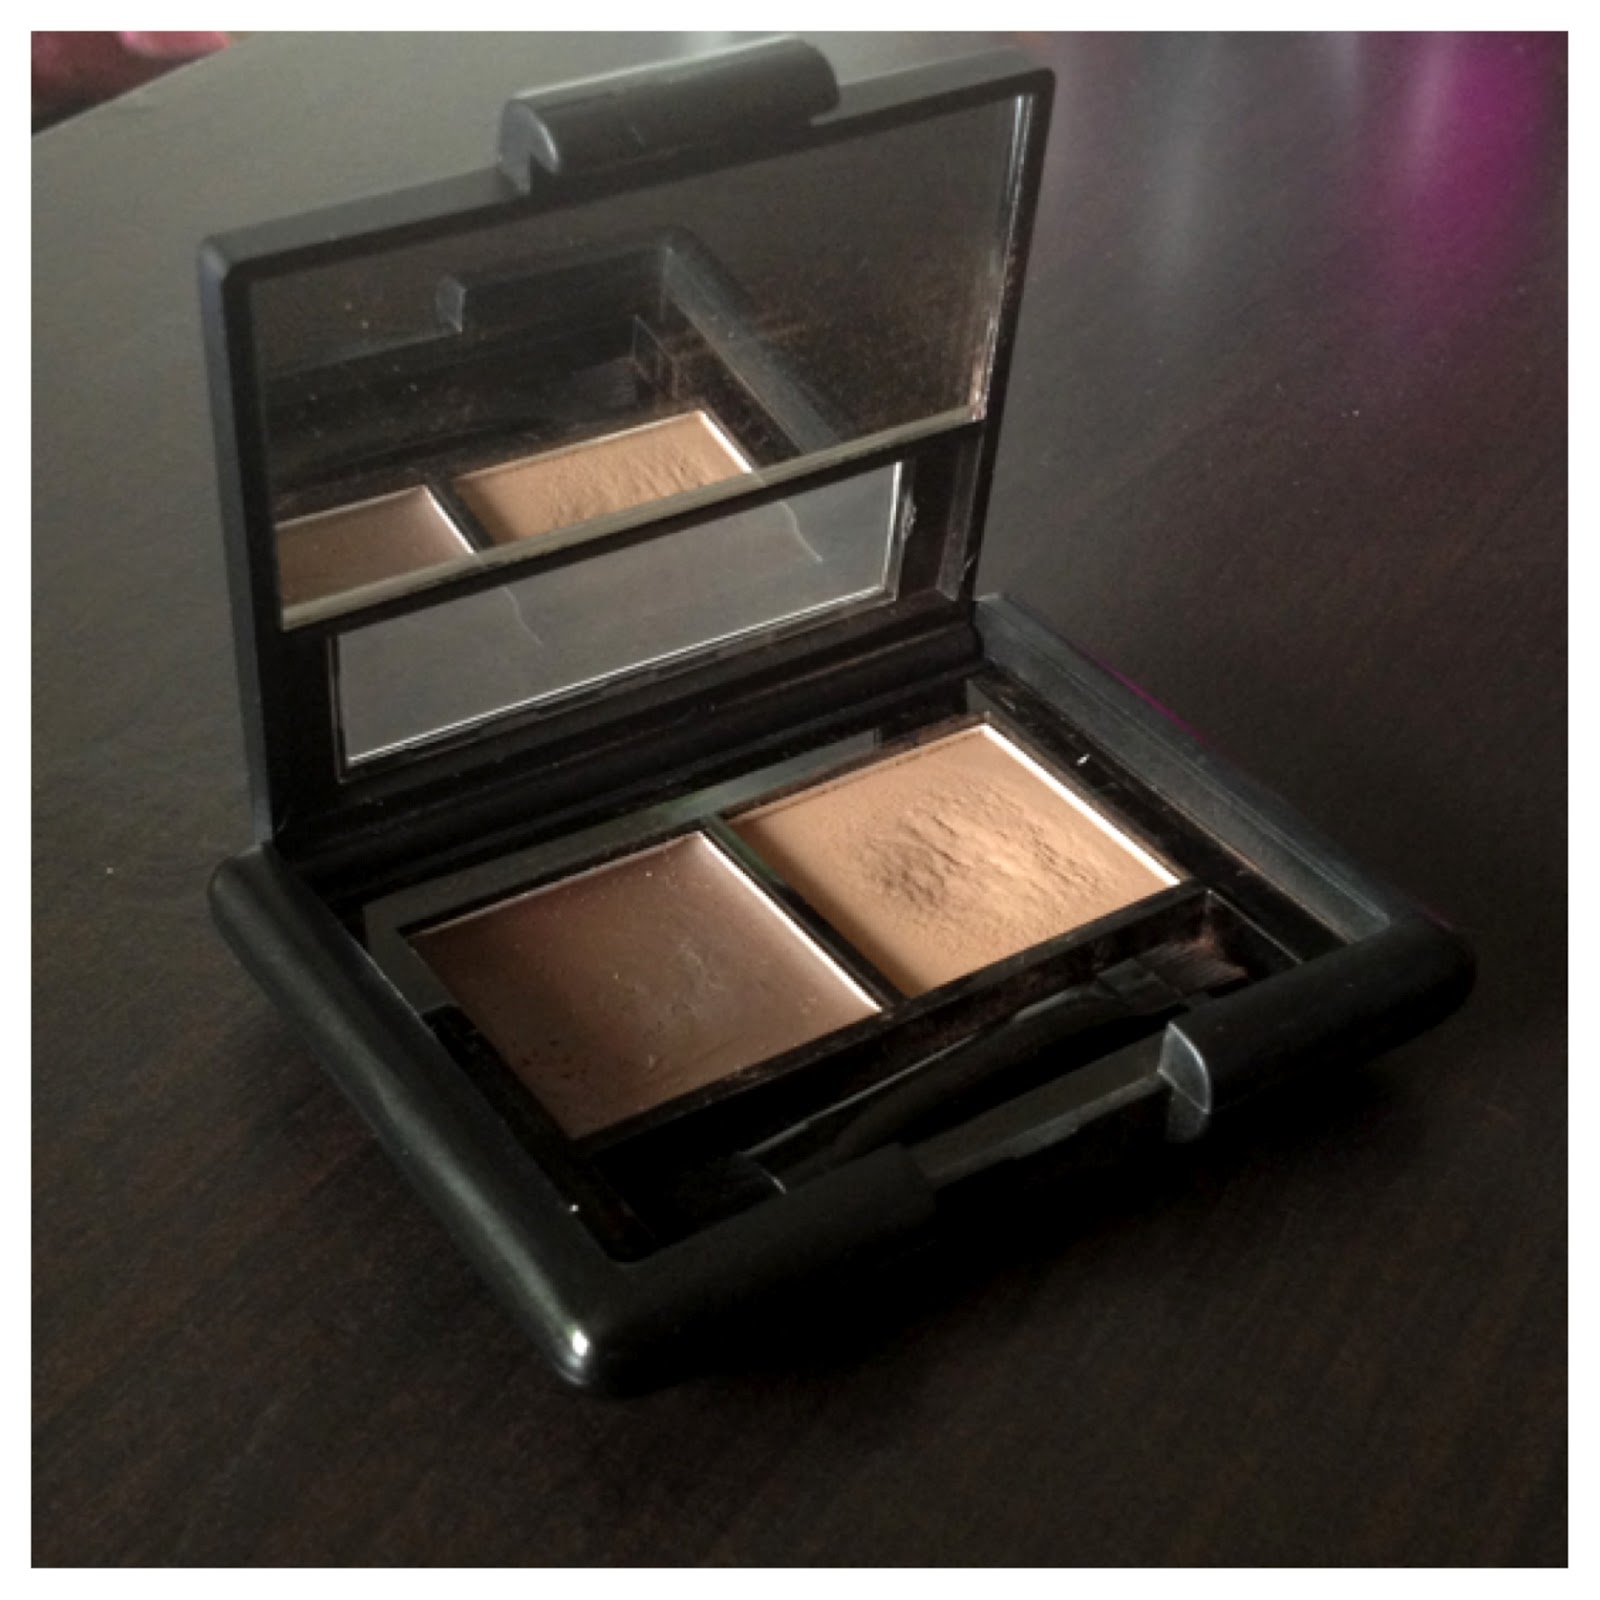
1: Here I'm using E.L.F. eyebrow kit in the shade "medium". It comes with wax (left side), powder (right side) and a duel ended brush. If you don't have an eyebrow kit or a powder made specifically for eyebrows, just find a matte powder that is about 3 shades lighter than your hair. If I used a powder that was the exact color of the hair on my head, I'd look like I had caterpillars crawling on my face.


Here is the dual ended brush that comes with the kit. I only use the angled brush side. This brush is surprisingly good quality so I use this every time I do my brows.


2: An eyebrow brush. This isn't completely necessary but I like to use it to make sure that my brows aren't being too unruly.


3: Concealer and a concealer brush. These are also unnecessary. It's a personal choice whether you would like to use them or not. (I'll explain more in the tutorial.)


4: Eyebrow gel! I don't know what I was doing before I discovered this! I would do my eyebrows perfectly and all it would take would be me putting a shirt over my head to mess them all up. You brush this bad boy through your brows and it keeps them together for the whole day.


Step 1: Take your angled brush and swipe some of your powder. Start outlining the bottom of your brow. Be sure to only use a little powder at a time. You want this to be a faint line. Be very careful at the start of your brow. This is where most brows are their thinnest, so you don't want to have a lot of shadow there.


Step 2: Following the same process, outline the top of your brow. Again, be careful around the start of your brow, you don't want a lot of shadow here.


Step 3: You'll have to figure out whether you like more of a rounded tip or a boxed in tip. I prefer a boxed in tip on my brows. I begin by applying a straight line where I'd like it to start.


Step 4: Start filling in between all of the lines you've created. If you've put too much shadow on your brows, take your brow brush and brush your brows until it's your desired shade. The brush will pick up any excess shadow. On a normal day, this is where I'd usually stop and add my brow gel, but if I'm going out and really want some extra definition on my brows, I will continue on to step 5.


Step 5: This is where your concealer and concealer brush come in handy. Apply a small amount of concealer on your brush and very carefully draw a straight line underneath and above your brow. This will straighten up any powder that may have gotten out of line.


Step 6: Blend your concealer downward so there isn't a harsh concealer line. Once your brows are exactly how you want them, add your brow gel. Wait for your gel to dry and you're finished!


Here is my brow before and after. Still natural but much more defined!


Let me know if you guys would like more tutorials like this! If you have any suggestions or questions, feel free to leave them below and I'll answer the best I can!


Thanks for reading!
Aubrey