Showing posts with label glitter. Show all posts

Thursday, August 8, 2013

Galaxy Nails (Tutorial)

Galaxy print has been on just about every form of clothing lately. Shirts, socks, shoes, pants, you name it. Black Milk Clothing's ridiculously awesome leggings would be by far the most popular of the galaxy theme. You can check them out here.
 
If you feel like galaxy print is too loud for your clothing style (like me), applying the print to your nails is a cool way to show it off in a much quieter way.
 
Here's how I create my galaxy nails:

(This was my reference picture, I suggest you find a picture of a galaxy that you love and recreate it!)


Step 1: Paint your nails black. I used OPI- Black Onyx.


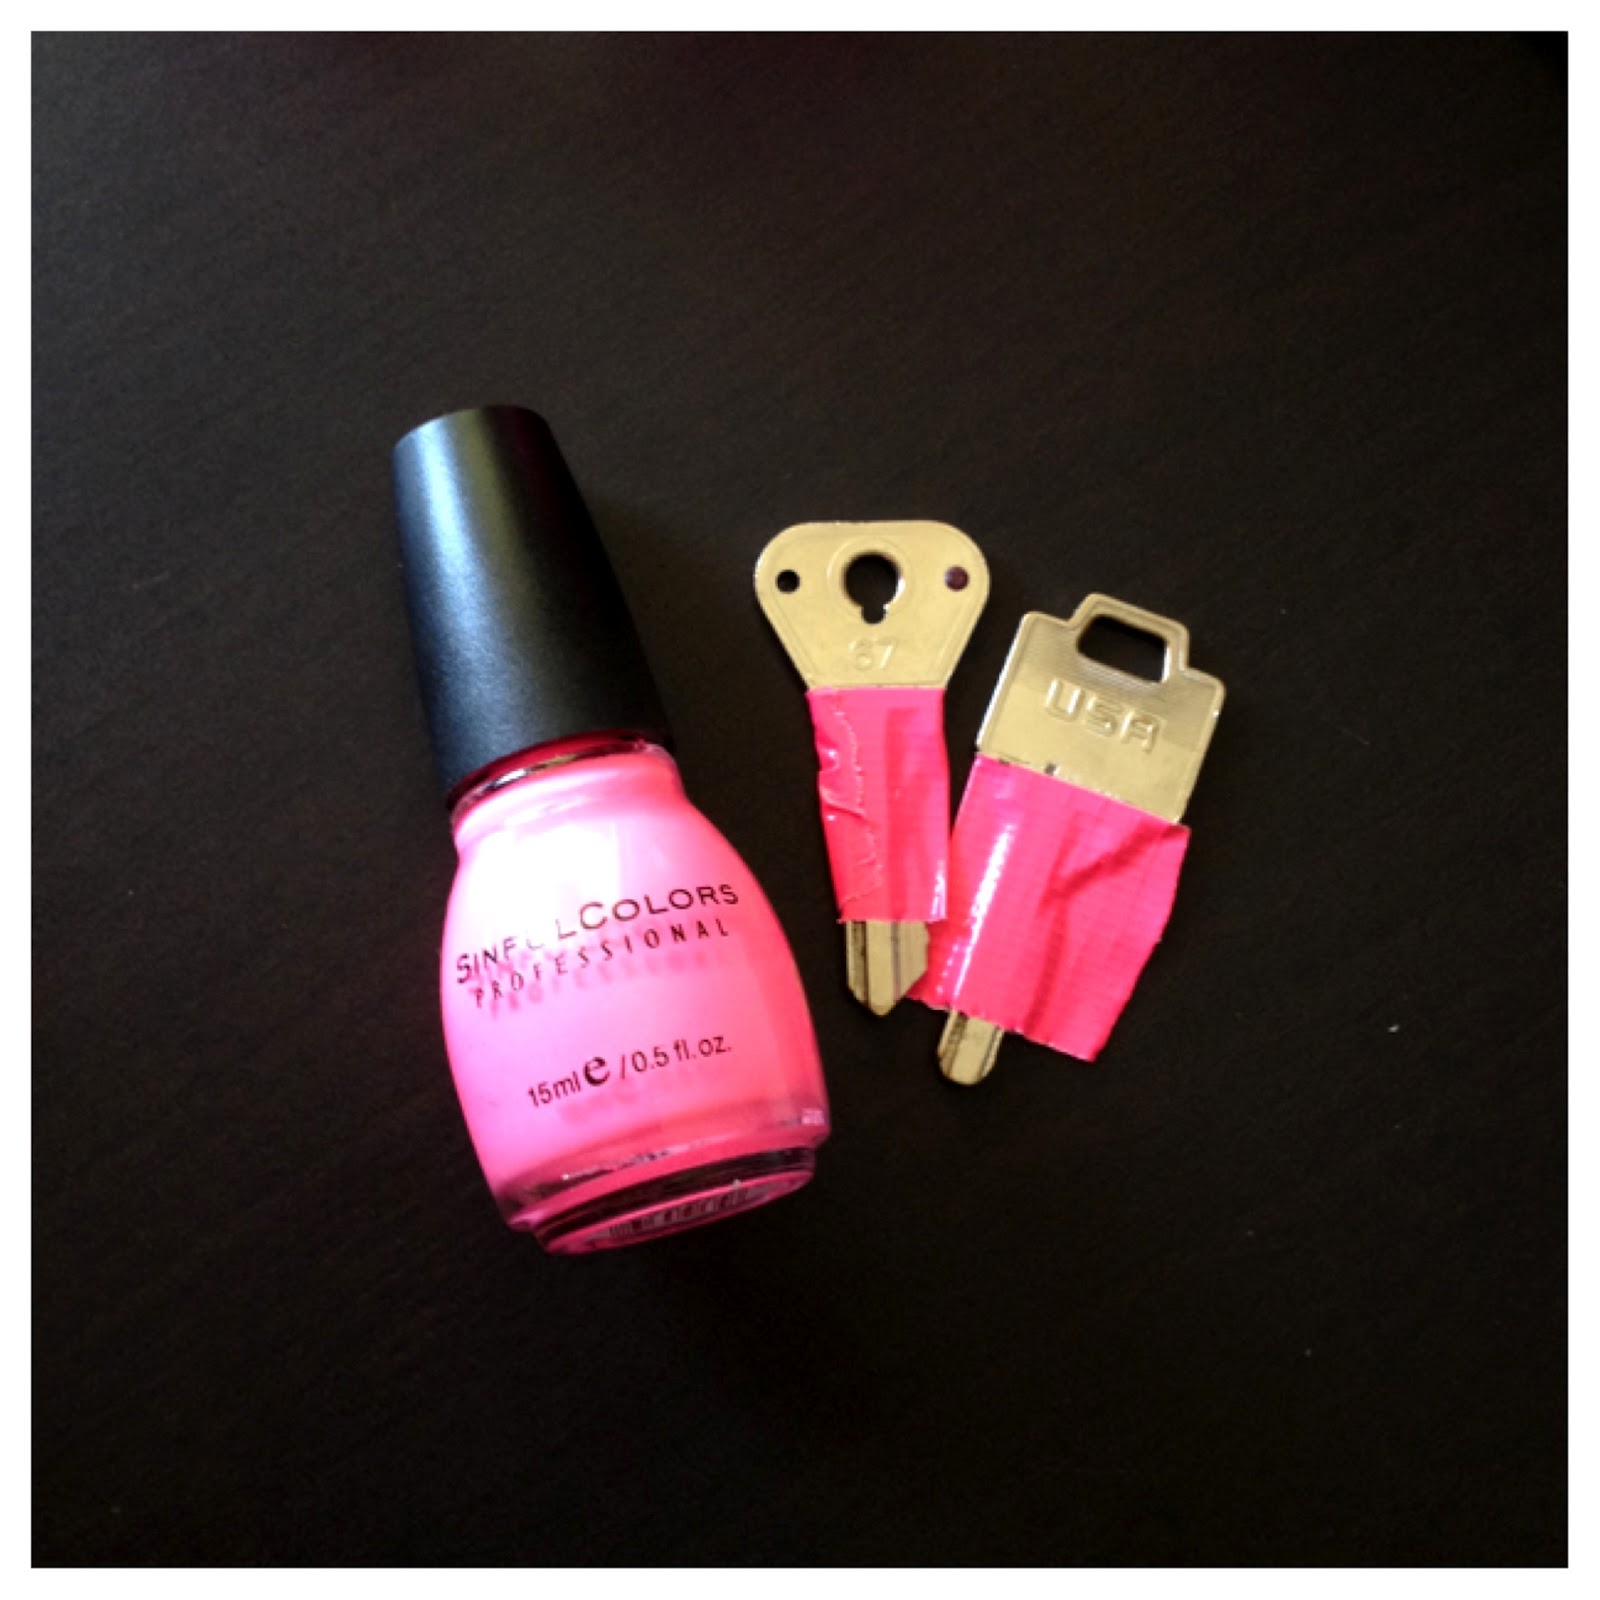
Step 2: Take a cotton wedge and cut a random chunk of it off. This does not need to be perfect in any way. The weirder and more ragged it is, the cooler the stamp. Since the wedge chunk is so small, I used tweezers to hold it.
 
Step 3: Apply a drop of polish onto some scrap paper and stamp your sponge into it.
 
*Tip: stamp your sponge onto your paper a few times to remove any large amount of polish.


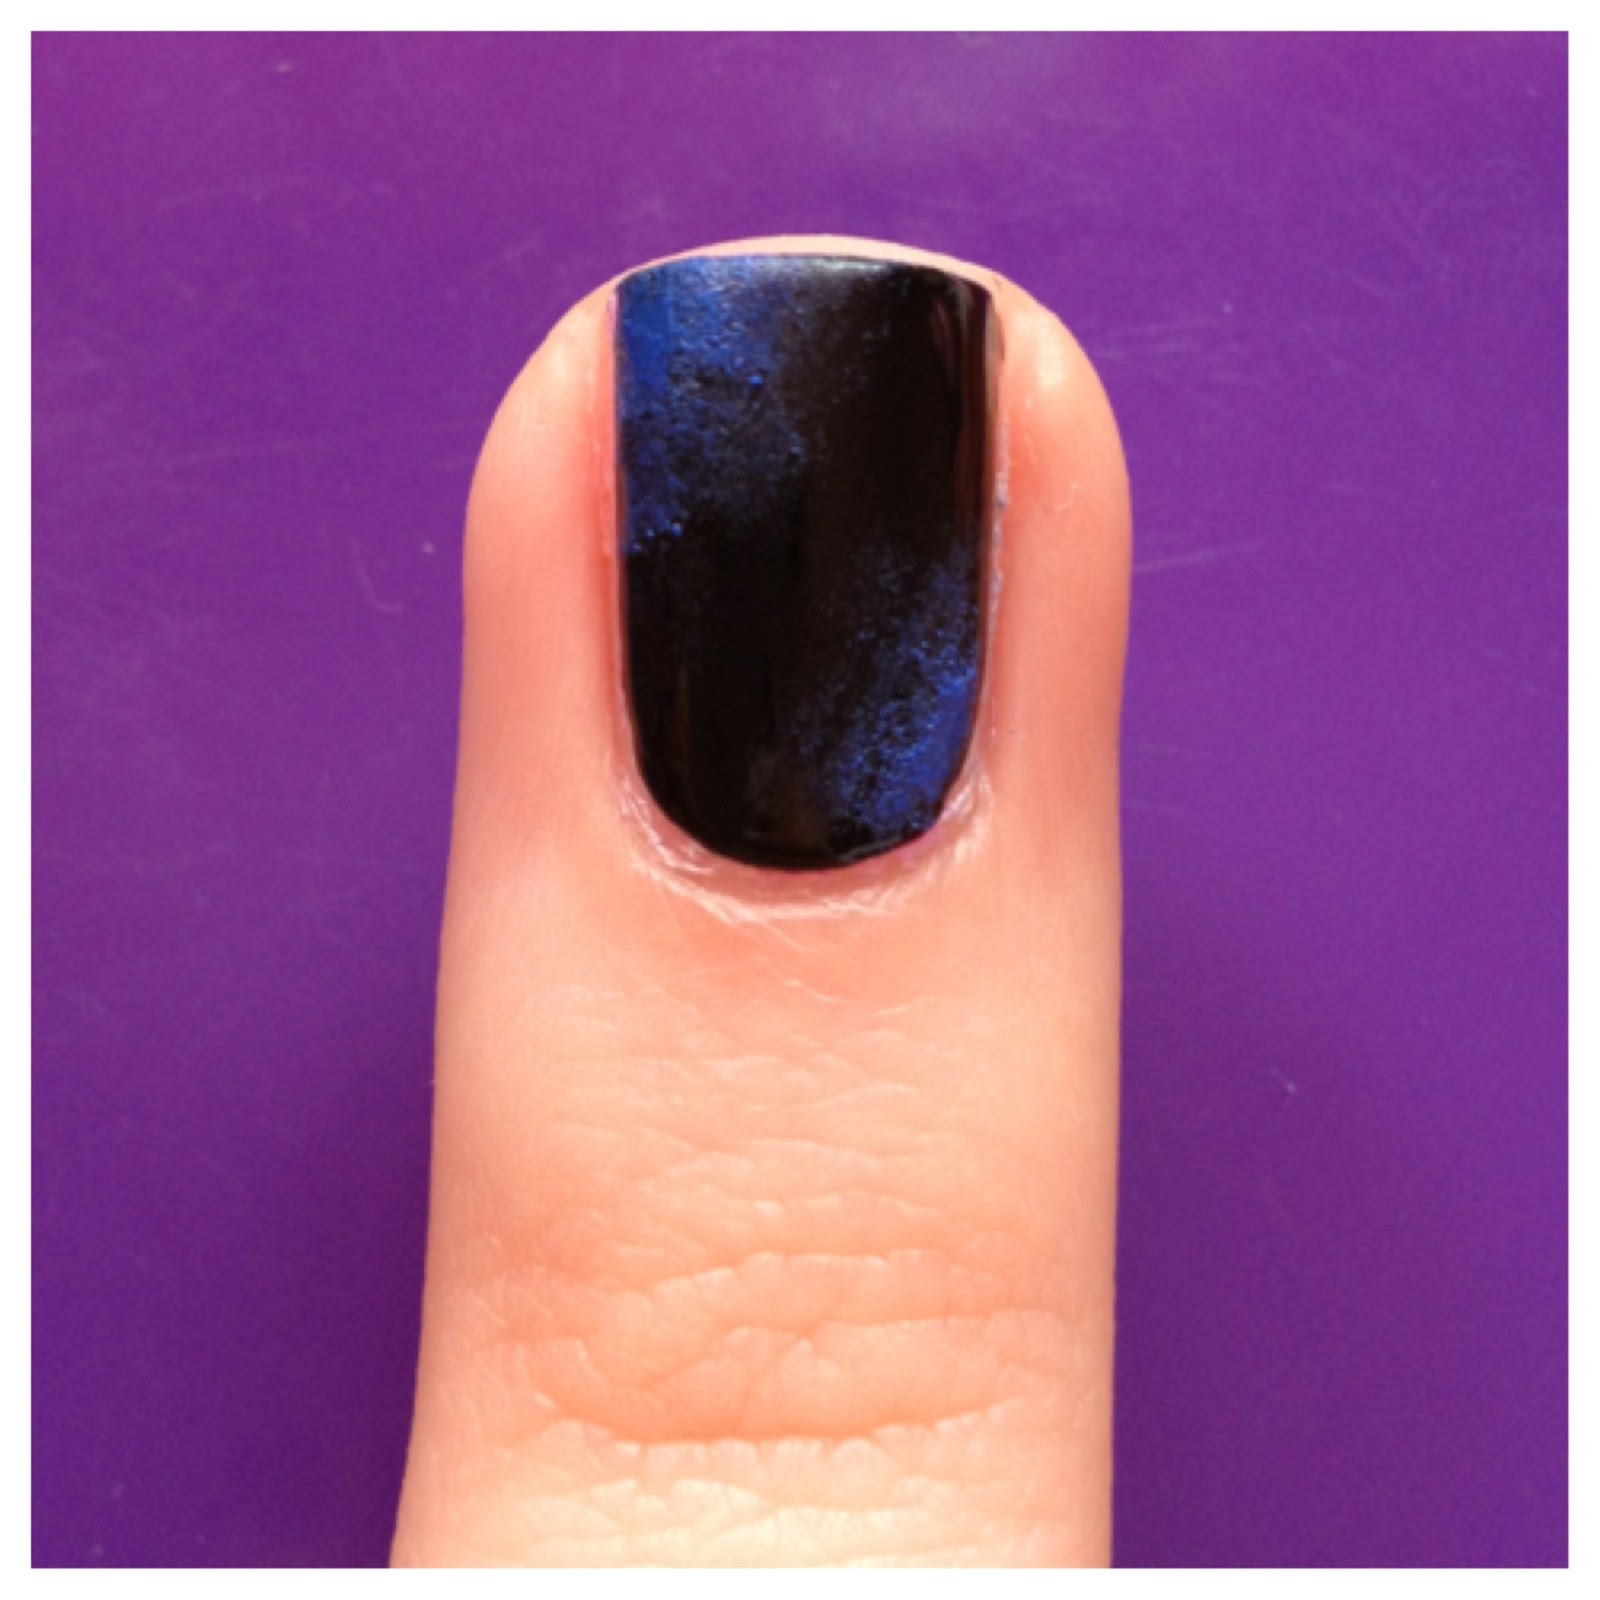
Step 4: Sponge your blue onto random areas of the nail. If you feel like you've applied too much blue, stamp over it with the black. This is fool proof and there's no right or wrong way.


Step 5: Repeat Steps 2 & 3. Except this time instead of blue, use a green color and then stamp it onto your nail. As you can see, I stamped the green lightly around the blue.


Step 6: Repeat the same process as you did with the blue and green, except this time add purple.


Step 7: Sponge on some white. These will resemble the random clusters of stars.


Step 8: Take a tack or something with a very fine tip, and apply some of your bigger brighter stars. Here I used white and gold.


Step 9: Lastly, add a glitter top coat. This is the best part. It really pulls together the entire print and it looks like tons of tiny little stars. I suggest adding only a thin coat of glitter at a time, you don't want to completely hide all of your cool colors underneath.


And that's how I created my galaxy nails. This would also look cool as an accent nail if you didn't feel like taking the time out and doing every nail like I did. If you have any questions or comments, feel free to leave them below.


<3

Wednesday, August 15, 2012

Pink Glittery Fishtail Manicure

A couple weeks ago I was sent O.P.I.- Nothin' Mousy 'bout It from my friend Tamara (her user name is @ohtammm on Instagram). Ever since I recieved this polish I've been thinking about a manicure that I could do to feature it. This is what I came up with..


Here is a flash shot of the manicure..


Here is a micro shot of the polish..


I love love loveee this polish. The pink/gold/purple glitter is to die for, and the glitter is so fine that the finish reminds me a lot of Essie- Pure Pearlfection. The only con is that the bottle is FULL of hearts, but they are a pain to get out. You'll most likely have to do some manual placement with them.


Here are all of the polishes I used for my mani. From left to right, Pure Ice- Love (don't mind the glob of polish on it haha), China Glaze- Rich & Famous, China Glaze- Purple Panic and O.P.I.- Nothin' Mousy 'bout It.


I hope you guys enjoyed! I didn't do a tutorial today because I've already done a tutorial on the fishtail nails. You can find that tutorial here - Fishtail Manicure Tutorial. For the hearts, all I did was place them on the nail with some tweezers! As always, feel free to leave any comments/questions below!


Aubrey

Monday, July 30, 2012

Pink Glitter Gradient

Lately I've been getting asked a lot on Instagram if I could create a glitter gradient tutorial. I haven't made one yet because it's really so simple. But if you guys want one, then there's no reason why I can't snap a few pictures along the way.


This is my glitter gradient manicure today. If you'd like to see how I achieved this look then continue reading!


Step 1: Grab a base color and some glitters! The look I did has a nude base color, this is something that can be switched up. The nude base allows the glitter to show up a little better, but if you want to use a bright purple base or a dark colored base, you totally can. From left to right: OPI- Sweet Heart, Orly- Tiara and Revlon- Sparkling.


Step 2: Paint on however many coats of your base color that it takes to get a nice finish. This is 2 coats of OPI- Sweet Heart.


Step 3: Out of all of the glitters that you would like to use, apply the finest glitter first. This is all about a gradual gradient look. If you apply your chunky glitter first, it may not look as gradient as you would like. This is Orly- Tiara. What I did was as I removed the brush from the bottle of glitter, I swiped off most of the polish. You only want a tiny bit of glitter on your brush. Be sure to leave the bottom 4th of your nail glitter free. This will also help with the gradient effect.


Step 4: You can continue to build up your finer glitter if you prefer, but this is where I start to bring in my chunkier glitter. This is Revlon- Sparkling. Again, make sure that your brush isn't loaded with glitter. You can always go back and add more. This is where you want to place most of your second coat of glitter. Once your brush has hardly any glitter on it, you can go ahead and blend a bit.


Step 5: This is another coat of Revlon- Sparkling. I also did some glitter placement with the bigger chunks. You want to focus this coat mostly on the very tip of your nail. When there is hardly any polish left on your brush, again blend it into the rest.


Step 6: Apply a fast drying top coat to protect your polish and you're finished!


I hope you all enjoyed this tutorial! I love this manicure so much. Glitter + pink is always a great thing in my book :) If you have any questions, feel free to ask them below.


Happy polishing!
Aubrey

Sunday, July 29, 2012

DIY Key Covers

So as most of you know, I have a little bit of a polish obsession. As I was staring at my homely looking house keys last night I thought, "What could possibly liven these babies up? Ooooooh yes, nail polish!" So that's what I did! And I gotta say, I am SO happy with them! They're so cute and girly.

If you don't like the "cute and girly" look, then throw your favorite sports team's colors on them or create some cool pattern! Let your imagination run wild.


Here they are. My boring house keys. Go ahead and grab yours and let's get started!


Step 1: Take some alcohol on a cotton swab and run it over your keys. Your keys can have lots of oil and dirt on them from constantly being handled and you'll want a nice clean surface for your polish to stick to.


Step 2: Use any sort of tape you have and tape off the bottom portion of your key. If you have a steady hand then you can totally skip this step! This is a guide to make sure that you have a nice clean line when you're finished painting.


 Step 3: Choose a color that you would like as the base. I chose Sinful Colors- 24/7. It's a bright neon pink and it's only $1.99 at Target.


Step 4: Let the keys dry between coats. Apply as many coats as you see fit. To stand these babies up so they could dry properly, I put them in little plastic shot glasses.


For my round key, I decided to add some glitter, glitter and a little more glitter. From left to right : Revlon- Sparkling, Orly- Tiara and OPI- Pirouette My Whistle.

Step 5: I applied a layer of Orly- Tiara and then set it in the shot glass to dry.


Step 6: This has all 3 glitters on it. Make sure you set it aside and let it fully dry.

For my square key, I decided to make some leopard spots. Here I have OPI- Siberian Nights and Sinful Colors- Dream On. I also painted on Essie- Pure Pearlfection before I painted on the leopard spots.


Here is the square key with Essie- Pure Pearlfection and Sinful Colors- 24/7


Step 7: Add some random dots with your polish brush. The color used for the spots is Sinful Colors- Dream On.

Step 8: With a small paint brush, paint small lines around your dots. This dark purple is OPI- Siberian Nights.

Step 9: I then took a dotting tool with the same color (OPI- Siberian Nights) and added random dots between the leopard spots.


Step 10: Wait for your polish to dry, and then remove your tape. The tape I used left a little bit of a sticky residue. If your tape left some residue behind, take a cotton swab dipped in alcohol and rub it along the key. The residue will come right up.


I was completely happy with how my keys turned out at this point. Butttt I felt the need to bling them out even more and I happened to have a container of rhinestones in eyesight..


Step 11: Brush a top coat over your entire polish portion of the key. You'll want to do this whether you apply rhinestones or not! While your top coat is still wet, place your rhinestones in random spots on your key. For the leopard print key, I applied rhinestones over top of my small dots.


Step 12: Wait for your top coat to completely dry and you're done!


These keys are so cool and so much fun to make! Part of me wanted to grab my boyfriends keys and go at his but I don't know how he'd explain pink glittery keys to his buddies at work ;) If you decide to try this out, post a picture on Instagram and tag me in it because I'd love to see your creations! ( @aubreyhannah )


Happy polishing!
Aubrey