Showing posts with label aubreyhannah. Show all posts

Monday, August 19, 2013

Floral Splatter Nails (Tutorial)

I was going through my heaps of body sprays and lotions and if any of you are like me, you have way too much of both. I decided to start repurposing my spray bottles. As soon as they are empty or low of body spray, I wash them out and use them for other things.

*Rinse, take off label and there you go. No need to go buy empty spray bottles.
 
This is when I decided that it would be cool to use these bottles for splatter nails. When splatter nails first got popular, they were made by dipping one end of a straw into polish, and then blowing on the opposite end of the straw. This would spray polish onto the nail and create a cool splatter effect.. but it was way too much work.
 
Instead, take a clean, empty spray bottle and add whatever color acrylic paint you like plus water.

 
The water to paint ratio here is about 3:1. I wanted my splatter to be more of a spray and less goopy. But if you want thicker, bolder splatters, use less water.


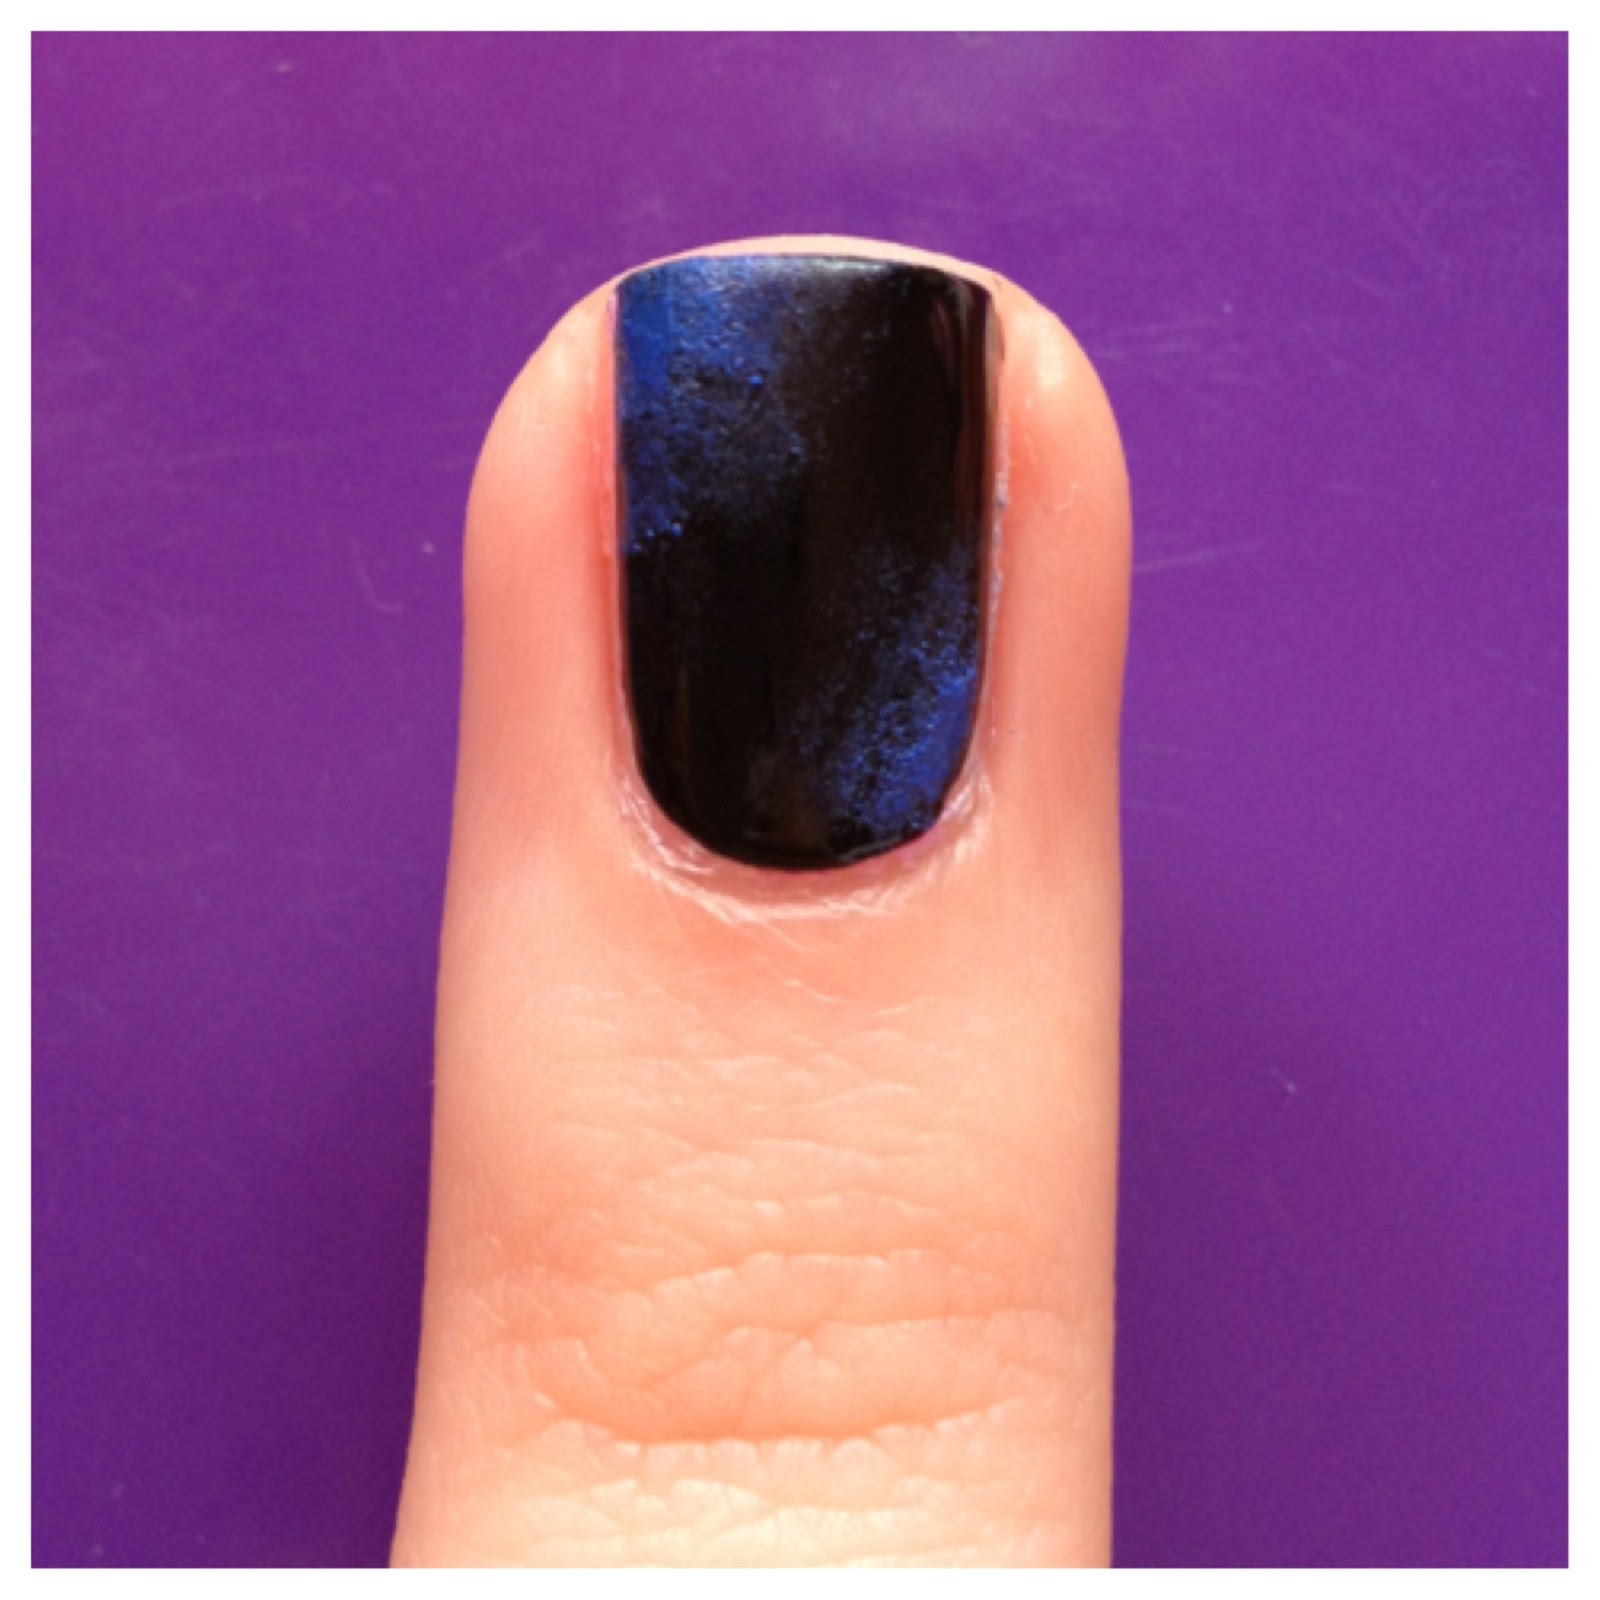
Step 1: Paint your nails any color of your choice for your base. Here I chose black.


Step 2: This is optional. I applied tape to the skin around the nails. This helps for easier clean up.


Step 3: Once your nails are taped and ready to go, make sure you have some paper towel beneath you so you don't get paint everywhere.


Step 4: This is the fun part. Apply your homemade spray paint. Acrylic paint is much more forgiving than nail polish. If you feel that it doesn't look the way that you would like, carefully wipe the paint off with a damp q-tip and start over.


Step 5: Once you have the look that you like, add a top coat to seal in your design.


You can choose to stop here if you would like, but I decided to add some floral prints on top.


This is the basic guideline I used to create my flowers.
Apply 5 dots in a circle and add a piece of glitter in the center.


This is my finished look. If you have any comments/questions feel free to leave them below!
 
 
<3
 

Thursday, August 8, 2013

Galaxy Nails (Tutorial)

Galaxy print has been on just about every form of clothing lately. Shirts, socks, shoes, pants, you name it. Black Milk Clothing's ridiculously awesome leggings would be by far the most popular of the galaxy theme. You can check them out here.
 
If you feel like galaxy print is too loud for your clothing style (like me), applying the print to your nails is a cool way to show it off in a much quieter way.
 
Here's how I create my galaxy nails:

(This was my reference picture, I suggest you find a picture of a galaxy that you love and recreate it!)


Step 1: Paint your nails black. I used OPI- Black Onyx.


Step 2: Take a cotton wedge and cut a random chunk of it off. This does not need to be perfect in any way. The weirder and more ragged it is, the cooler the stamp. Since the wedge chunk is so small, I used tweezers to hold it.
 
Step 3: Apply a drop of polish onto some scrap paper and stamp your sponge into it.
 
*Tip: stamp your sponge onto your paper a few times to remove any large amount of polish.


Step 4: Sponge your blue onto random areas of the nail. If you feel like you've applied too much blue, stamp over it with the black. This is fool proof and there's no right or wrong way.


Step 5: Repeat Steps 2 & 3. Except this time instead of blue, use a green color and then stamp it onto your nail. As you can see, I stamped the green lightly around the blue.


Step 6: Repeat the same process as you did with the blue and green, except this time add purple.


Step 7: Sponge on some white. These will resemble the random clusters of stars.


Step 8: Take a tack or something with a very fine tip, and apply some of your bigger brighter stars. Here I used white and gold.


Step 9: Lastly, add a glitter top coat. This is the best part. It really pulls together the entire print and it looks like tons of tiny little stars. I suggest adding only a thin coat of glitter at a time, you don't want to completely hide all of your cool colors underneath.


And that's how I created my galaxy nails. This would also look cool as an accent nail if you didn't feel like taking the time out and doing every nail like I did. If you have any questions or comments, feel free to leave them below.


<3