Wednesday, September 11, 2013

How To: Clean Makeup Brushes

Before I purchased quality makeup brushes, I would treat my brushes like crap.. I didn't know any better. Now I wash my brushes weekly and do spot treatments whenever it's needed.
 
Half of any break outs could be due to dirty brushes, it's gross to even think about. Besides the gross factor, nourishing the bristles is going to keep them soft and will make them last longer.
 
If you'd like to see how I clean mine, keep on reading.
 
What you'll need: Dirty brushes, a brush cleanser, a bowl, running water and a towel.

 
* You can check out my brush cleanser here. You do not need a "special" brush cleanser like this one. Johnson's Baby Shampoo is cheap and gentle enough to clean your makeup brushes.
 
 
Just so we're on the same page:


Step 1: Pour a small amount of your cleanser into a bowl.


Step 2: Run your brush under luke-warm water.

* Always hold your brush upside down while cleaning it. Holding the brush upright can cause water to travel down the ferrule and loosen up the bristles.

* Never let the water go past the brush ferrule and onto the handle. Allowing water into this end of the ferrule can loosen the glue and cause the ferrule and the handle to come apart.


Step 3: Dip your dampened brush into the cleanser.


Step 4: Swirl your brush into the palm of your hand, creating a nice lather.
Rinse and repeat until the lather is white and clean.


Step 5: Gently squeeze out any extra water and lay flat to dry on a towel.
* Shape your brushes while damp so they dry nice and compact.


I like to wash my brushes before bed so they have the entire night to dry.
There are fancy racks that you can buy that'll hold your brushes upside down to dry faster, but this technique works just fine for me.


If you have any comments/questions, feel free to leave them below!
 <3
 

Sunday, September 8, 2013

All About Tape Manicures

Some of you may know that I'm a big-time Pittsburgh Steelers fan.. so I figured that during half time today I would kill two birds with one stone; paint my nails black and gold and show you all my dos and don'ts when it comes to tape manicures.


Here is my manicure for today. If you'd like to know how I did them, keep on reading!


These two items are the most important when you're doing a tape manicure.
Your polish may look dry, it may feel dry.. but tape and wet polish are not friends. It's better to take the guessing game out of it and just use a fast-drying top coat.


Step 1: Paint your nails black and apply your fast-drying top coat.
Polish used : OPI- Black Onyx and Essie- Good To Go.


Step 2: After you've waited for your nails to dry (about 5-10 minutes), take 2 pieces of tape and apply them to the back of your hand. Remove the pieces and stick them on again. Do this about 2-3 times. This removes any extra stickiness and helps assure that the tape won't be pulling the polish up.


Step 3: Apply the tape onto your nails like so. Gently push down the edges of the tape to make sure that you remove any bubbles to give the tape the best seal.


Step 4: Apply your gold polish. Make sure you apply evenly.
Polish used : OPI- Glitzerland.


Step 5: This step is important. Remove the pieces of tape individually and immediately after you apply your gold polish. Do not wait for your gold polish to dry and then pull your tape up, you won't get as clean of a line.


Step 6: Once the tape is removed, do any additional clean up and
add one last coat of fast-drying top coat.


I hope this post answered any questions you may have had about tape manicures!
If not, feel free to leave a comment down below.
 
Go Steelers! (;


Monday, August 19, 2013

Floral Splatter Nails (Tutorial)

I was going through my heaps of body sprays and lotions and if any of you are like me, you have way too much of both. I decided to start repurposing my spray bottles. As soon as they are empty or low of body spray, I wash them out and use them for other things.

*Rinse, take off label and there you go. No need to go buy empty spray bottles.
 
This is when I decided that it would be cool to use these bottles for splatter nails. When splatter nails first got popular, they were made by dipping one end of a straw into polish, and then blowing on the opposite end of the straw. This would spray polish onto the nail and create a cool splatter effect.. but it was way too much work.
 
Instead, take a clean, empty spray bottle and add whatever color acrylic paint you like plus water.

 
The water to paint ratio here is about 3:1. I wanted my splatter to be more of a spray and less goopy. But if you want thicker, bolder splatters, use less water.


Step 1: Paint your nails any color of your choice for your base. Here I chose black.


Step 2: This is optional. I applied tape to the skin around the nails. This helps for easier clean up.


Step 3: Once your nails are taped and ready to go, make sure you have some paper towel beneath you so you don't get paint everywhere.


Step 4: This is the fun part. Apply your homemade spray paint. Acrylic paint is much more forgiving than nail polish. If you feel that it doesn't look the way that you would like, carefully wipe the paint off with a damp q-tip and start over.


Step 5: Once you have the look that you like, add a top coat to seal in your design.


You can choose to stop here if you would like, but I decided to add some floral prints on top.


This is the basic guideline I used to create my flowers.
Apply 5 dots in a circle and add a piece of glitter in the center.


This is my finished look. If you have any comments/questions feel free to leave them below!
 
 
<3
 

Thursday, August 8, 2013

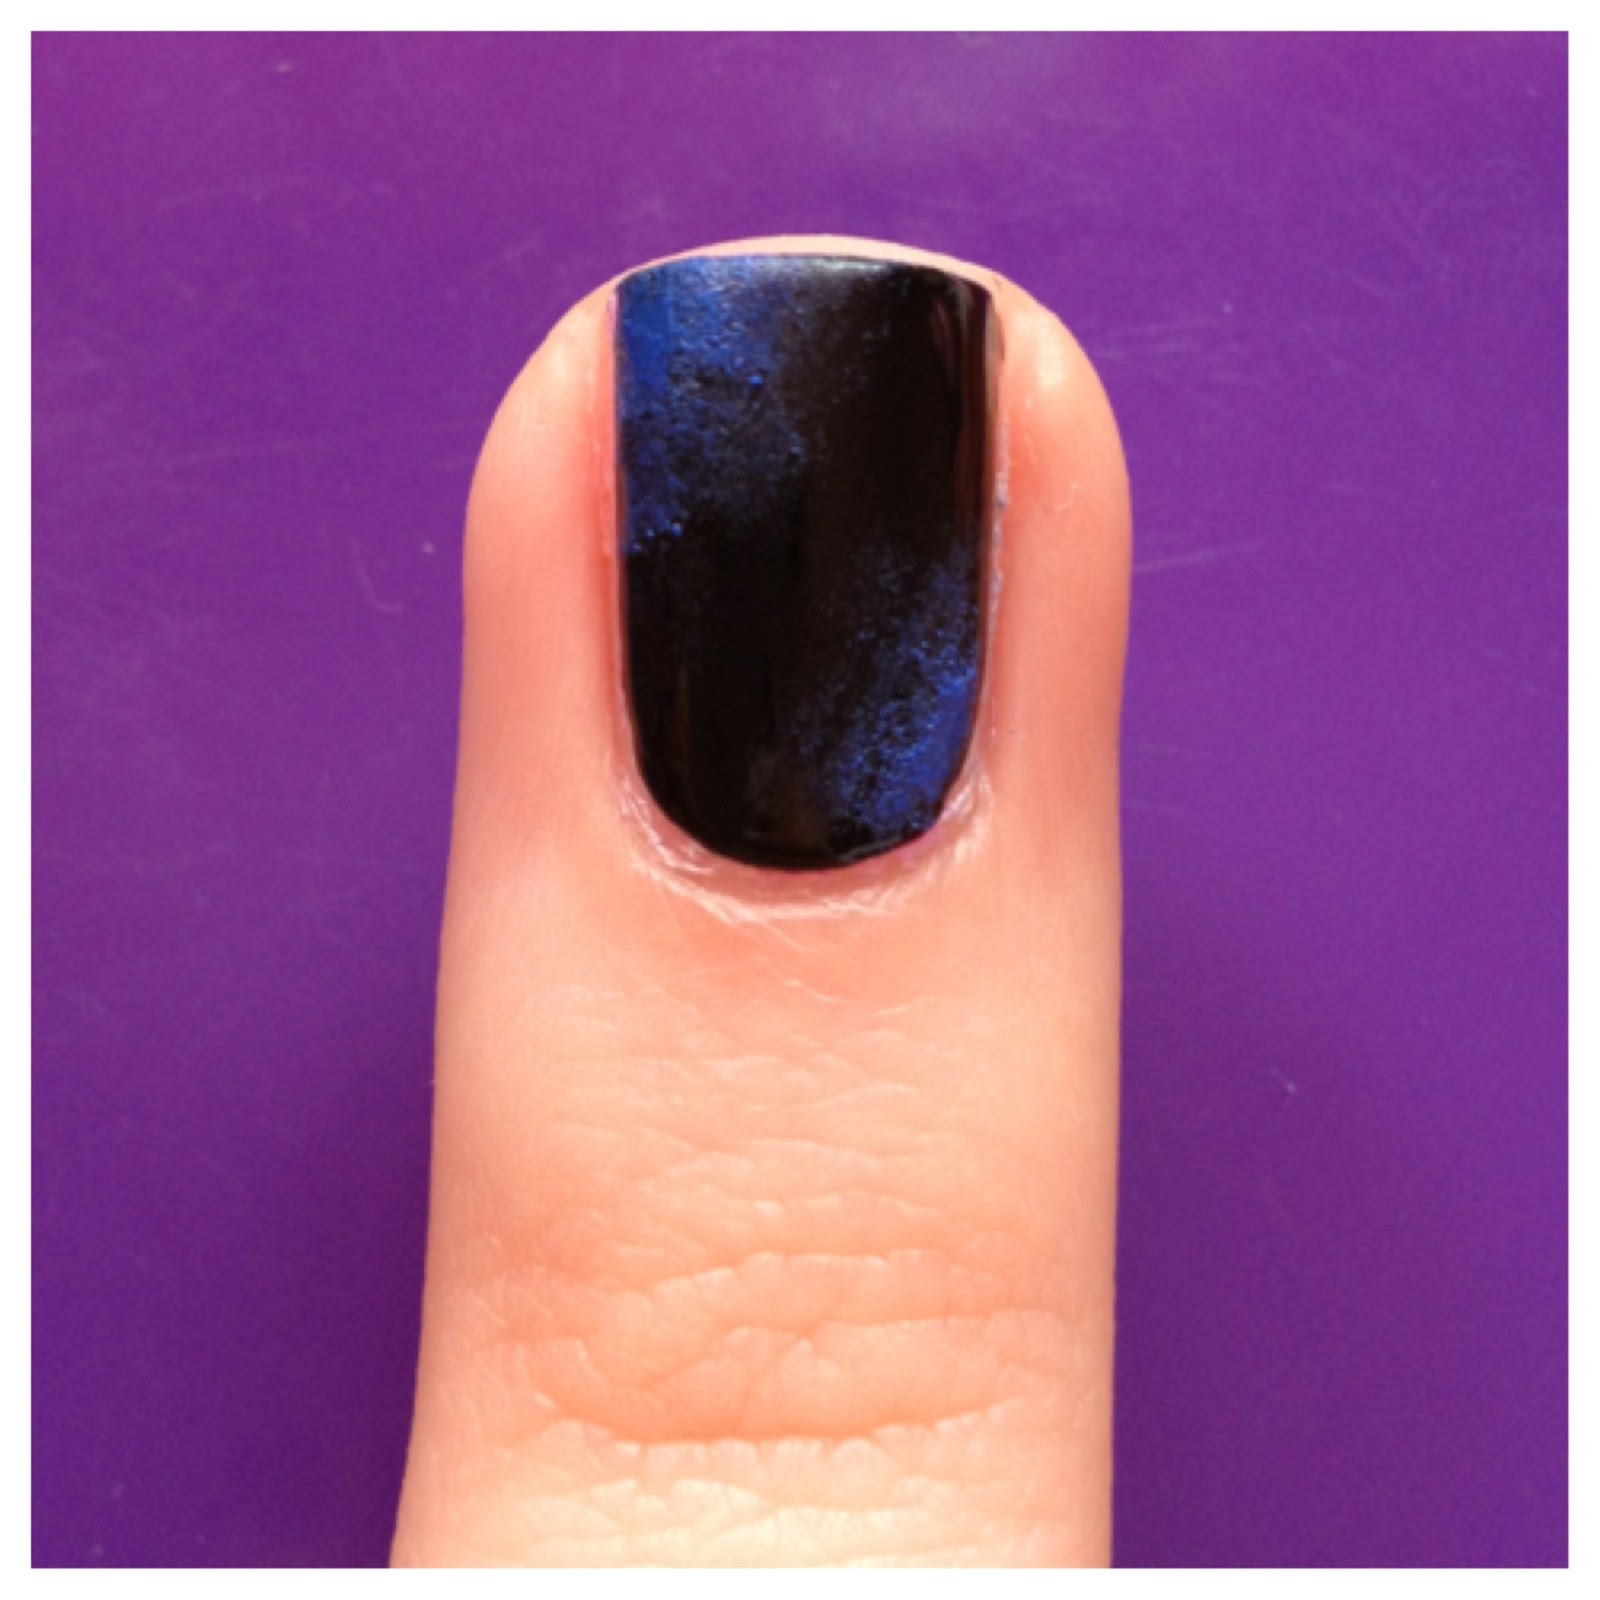
Galaxy Nails (Tutorial)

Galaxy print has been on just about every form of clothing lately. Shirts, socks, shoes, pants, you name it. Black Milk Clothing's ridiculously awesome leggings would be by far the most popular of the galaxy theme. You can check them out here.
 
If you feel like galaxy print is too loud for your clothing style (like me), applying the print to your nails is a cool way to show it off in a much quieter way.
 
Here's how I create my galaxy nails:

(This was my reference picture, I suggest you find a picture of a galaxy that you love and recreate it!)


Step 1: Paint your nails black. I used OPI- Black Onyx.


Step 2: Take a cotton wedge and cut a random chunk of it off. This does not need to be perfect in any way. The weirder and more ragged it is, the cooler the stamp. Since the wedge chunk is so small, I used tweezers to hold it.
 
Step 3: Apply a drop of polish onto some scrap paper and stamp your sponge into it.
 
*Tip: stamp your sponge onto your paper a few times to remove any large amount of polish.


Step 4: Sponge your blue onto random areas of the nail. If you feel like you've applied too much blue, stamp over it with the black. This is fool proof and there's no right or wrong way.


Step 5: Repeat Steps 2 & 3. Except this time instead of blue, use a green color and then stamp it onto your nail. As you can see, I stamped the green lightly around the blue.


Step 6: Repeat the same process as you did with the blue and green, except this time add purple.


Step 7: Sponge on some white. These will resemble the random clusters of stars.


Step 8: Take a tack or something with a very fine tip, and apply some of your bigger brighter stars. Here I used white and gold.


Step 9: Lastly, add a glitter top coat. This is the best part. It really pulls together the entire print and it looks like tons of tiny little stars. I suggest adding only a thin coat of glitter at a time, you don't want to completely hide all of your cool colors underneath.


And that's how I created my galaxy nails. This would also look cool as an accent nail if you didn't feel like taking the time out and doing every nail like I did. If you have any questions or comments, feel free to leave them below.


<3

Friday, August 2, 2013

Vibrant Purple Smokey Eye (Tutorial)

Smokey eyes are great for any sort of night out look. Once you start experimenting with smokey eyes, you realize that there are different kinds. This particular one focuses the dark shadows in the inner and outer corners of the eye.
 
 
This is my vibrant smokey eye of the night:
 
 
Before I get into it, I want to explain some things. The color purple may not be the best color choice for your particular eye color. Whenever you're putting eye shadow on, always try to choose colors that enhance your eyes. Enhancing is the entire purpose of makeup, after all. This purple shade can be switched out for any shade of your liking.


Step 1: Take a vibrant color of your choice (purple looks awesome on brown and green eyes) and place it right in the middle of your lid.


Step 2: With a fluffy brush, add some dark brown to the inner and outer corners of your lid.
 
* You will be adding black shadow, so the purpose of laying down the brown first is so that everything blends together with more ease. Brown is a nice transitional color.
 
* The color used was Buck from Urban Decay- Naked Palette.
Check it out here.


Step 3: With a pencil brush, add some black shadow in the inner and outer corners of your lid. This is the step that you should take your time with. Always start with a little black and work your way to your ideal black shade.
 
* The color used was Crave from Urban Decay - Naked Basics Palette.
Check it out here.


Step 4: Add eye kohl to the top and to the bottom. You could do a crazy cat eye with this, or keep it simple like I did. Both would look great.
 
* The eye kohl used was Smolder by MAC Cosmetics.
Check it out here.


Step 5: Lastly, add your favorite mascara to your top and bottom lashes.
 
* The mascara used was Benefit- BADgal Lash.
Check it out here.


And that's it! If you have any questions or comments, leave them below. If you recreate this look I'd love to see it. Tag me @aubreyhannah on Instagram so I can check them out!


Sunday, March 10, 2013

Leopard Ombre Manicure (Tutorial)

 
Hey everyone! I can't believe that this is my first post in 2013 and it's already March.. yikes. I will try to do a better job at keeping up with posting. I'm always on instagram, so if you're interested in keeping up with me, you can find me at @aubreyhannah.
 
 
Onto the nails!
 
I recently posted a small tutorial on my instragram of leopard ombre nails which were inspired by @ohtammm. You all seemed to enjoy them so I figured I would explain how I made them in a little more detail.


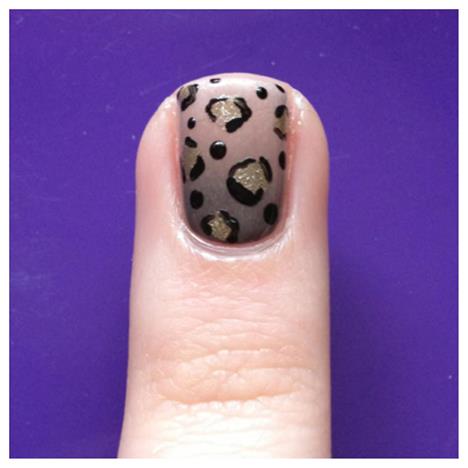
Here is my leopard ombre look. I chose to incorporate it as an accent nail, but you could add it to every nail if you wanted! Both ways look great.


Step 1: Paint your nails a neutral or a white shade. Here I used OPI- Barefoot in Barcelona. This will be a base for your ombre colors, and will allow the ombre to fully pop.


Step 2: Take a makeup sponge and dampen it. Wring out any excess water and paint a dark brown, a lighter brown and a white onto it. Here I used OPI- You Don't Know Jacques!, OPI- Barefoot in Barcelona and China Glaze- White on White.


Step 3. Bounce your sponge on top of your nail. The bouncing will lay the colors down and blend them together at the same time. Repeat steps 2 & 3 as many times as it takes to achieve the ombre you're looking for.


Step 4: Once you're satisfied with your ombre, clean up around the edges. You'll notice that the sponge has left your nails with a textured look, to smooth everything out, apply a fast drying top coat. Not only will the top coat smooth out your texture, but it will help the colors blend.


Step 5: Once your top coat has dried, grab a gold polish and apply random dots on your nail. Here I've used OPI- Glitzerland. You can use the polish brush for this, just make sure your brush isn't dripping with polish. You don't want your spots to be too raised.


Step 6: Take a black polish, here I used OPI- Black Onyx and line your gold spots. For a more in depth explanation on how I create my leopard print, click here. Once your spots have dried, add another coat of fast drying top coat. Be sure to wait for the spots to fully dry, otherwise the black and gold could bleed into your ombre, ruining all the time you just put into them.


I hope you all enjoyed this quick tutorial. As always, feel free to ask any questions or leave any comments down below.


Happy polishing!
Aubrey

Friday, September 7, 2012

Recent Mani's

Hey guys! I'm here with a little update for you all. I wanted to post my recent mani's since I haven't been showing my blog much love. My main reason for this blog was to focus mostly on tutorials, and I haven't made any lately so that's why I've been M.I.A.

Onto the mani's!!


Here is a golden leopard print mani. If you'd like to see how I create leopard prints, click here. The base color is Orly- Kiss the Bride, the gold is O.P.I.- Glitzerland and the black is O.P.I.- Black Onyx. I used a dotting tool for the dots.


The top and bottom picture are of the same mani which is an ombre one. If you'd like to see how I create my ombre mani's click here. Obviously the bottom picture is a little different. All I did was I added a topcoat&color water marble over top. The top coat allows the ombre to show through, giving it a cool effect. The colors used for the ombre are China Glaze- Purple Panic, China Glaze- Rich & Famous, Pure Ice- Love, and Orly- Kiss the Bride. For my watermarble I used N.Y.C.- Matte Me Crazy and Orly- Kiss the Bride.


Here is my most recent mani that I'm still wearing. It's just a basic mani, nothing too fancy. I have on Sinful Colors- Mint Apple as my base and a couple coats of Revlon- Whimsical overtop. I've also mattified this manicure since the picture was taken and I love it 10x more. I don't know what it is with me and matte polish lately but it's getting out of hand :)


I hope you guys liked this little catch up. If you'd like to be caught up faster, follow my Instagram at aubreyhannah. I post much more frequently on my IG than I do here. Also, I have a really fun manicure planned out for this weekend, I'm hoping that it goes as planned *fingers crossed*


Happy Friday!!
Aubrey